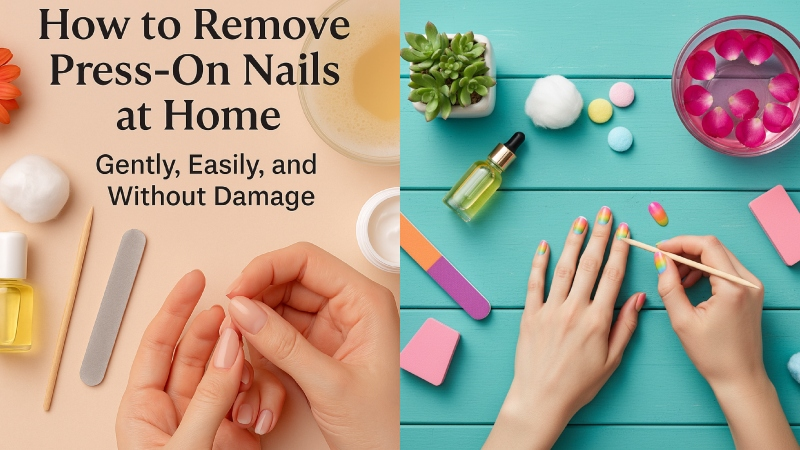
Press-on nails are pure magic, aren’t they? They give you a salon-fresh look in just minutes, without the wait, the cost, or the mess of acrylics. One click and suddenly your hands look elegant, neat, and ready for anything.
But then comes the tough part, taking them off. We’ve all made that mistake of pulling or peeling them, only to end up with sore, weak nails. The truth is, you don’t need to go through that again. Learning how to remove press-on nails the right way makes all the difference. It can actually be gentle, easy, and even a little relaxing if you follow the proper steps.
Let’s walk through it together, calm, simple, and kind to your nails.
What You’ll Need?
Before you start, gather a few things from around the house. You’ll need a bowl of warm water, a few drops of mild soap, some oil (cuticle oil, coconut oil, or olive oil, whatever you like), a wooden or plastic cuticle stick, a soft nail file or buffer, and your favourite hand cream afterwards.
If your nails were glued on extra strongly, keep some pure acetone and cotton balls nearby just in case. Once you’ve got everything ready, find a cosy spot, play your favourite music, and treat this like a little self-care moment just for you.
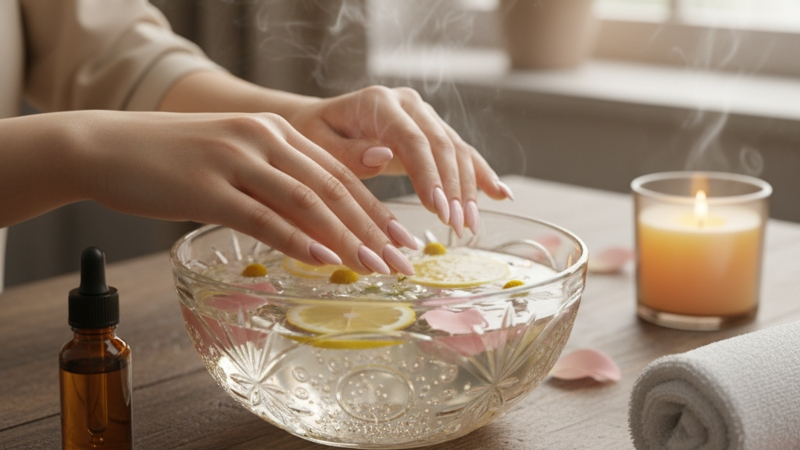
Step 1: Soak in Warm Soapy Water
The first step in removing press-on nails is soaking. Fill a bowl with warm (not hot) water, add a few drops of soap, and let your fingertips soak for about 10 to 15 minutes.
This softens the glue underneath your press-ons and helps them loosen naturally. While you soak, gently move your nails around or press lightly from the sides; you’ll feel them start to lift.
Tip: If you used adhesive tabs or light glue, this step alone might do the trick. Your press-ons may begin to slide off on their own.
Step 2: Add a Little Oil Magic
Once you’re done soaking, dry your hands gently and apply a drop of oil around each nail. You can use cuticle oil, olive oil, or coconut oil; anything that moisturises will work.
The oil seeps under the press-on nail and breaks down any leftover glue. Take your cuticle stick and very softly lift from the sides. Don’t rush or force it; if the nail doesn’t move easily, dip your fingers back into the warm water for a few more minutes.
Why does this work? Oil not only makes removal smoother but also nourishes your nails, leaving them soft and shiny, just like after a spa treatment.
This step alone shows why knowing how to remove press-on nails gently can help protect your natural nails from peeling or breaking.
Step 3: For Strong Glue – Try the Acetone Wrap
If your press-ons were applied with strong glue and refuse to budge, it’s time for the acetone method.
Here’s what to do: soak a few cotton balls in pure acetone, place one on each nail, and wrap your fingertips with small pieces of foil (or plastic wrap if that’s what you have). Wait for 10–15 minutes. The acetone will dissolve the glue, and your press-ons will come off easily.
Once the time is up, remove the wraps and gently push off the softened nails with your cuticle stick. Never scrape or peel; if one still feels stuck, rewrap and wait a few minutes longer.
Note: Acetone can make your skin a bit dry, so moisturise right afterwards to keep your hands soft and healthy.
Step 4: Clean and Buff Gently
When your press-ons are finally off (yay!), you might notice a bit of glue left on your natural nails. Don’t worry, that’s easy to handle. Use a soft nail buffer or file to smooth the surface lightly.
Be gentle; you only need to remove leftover glue, not the top layer of your nail. After buffing, rinse your hands and pat them dry. Feel how light and fresh your nails are now, it’s such a satisfying feeling!
Step 5: Show Your Nails Some Love
Now that you’ve mastered how to remove press-on nails safely, it’s time to pamper your natural nails.
Apply a generous amount of cuticle oil and massage it into each nail and cuticle. Then follow up with your favourite hand cream. Let your skin soak in the moisture, and your hands will feel soft, smooth, and nourished.
Mini Tip: Give your nails a short break before applying your next set of press-ons. Even a single day of rest can help your natural nails breathe and regain strength.
Things You Should Never Do
A few small mistakes can lead to big nail damage, so avoid these at all costs:
- Don’t pull or peel your press-ons off, as it can rip the natural layers of your nails.
- Don’t use sharp or metal tools that can scratch your nail surface.
- Don’t rush. Removing press-ons takes patience; slow is safe.
- Don’t skip moisturising afterwards.
Remember: removing your press-ons isn’t just about beauty, it’s about self-care. Take your time, breathe, and treat your hands kindly.
Step 6: Ready for Your Next Set?
Once your nails are clean, smooth, and moisturised, you’re ready for your next look! Just make sure your nails are completely dry and oil-free before applying new ones. This helps them stick better and last longer.
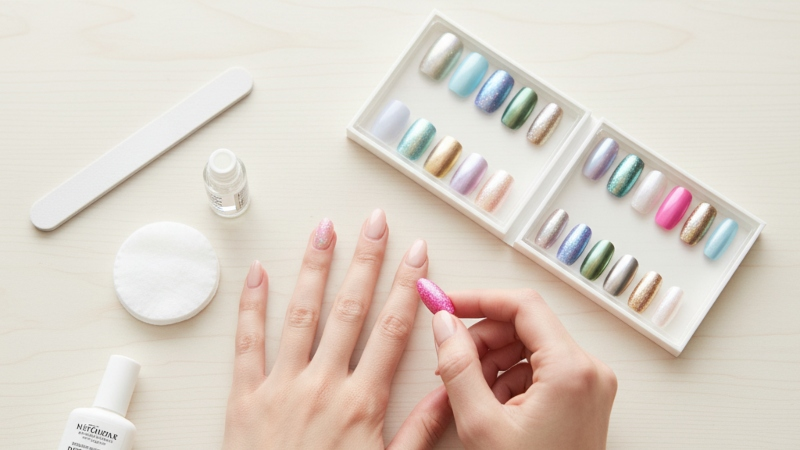
And just like that, you’re all set to shine again!
Last Impression
Now you know exactly how to remove press-on nails without damaging your natural ones. The process doesn’t have to be stressful or messy; it can actually feel relaxing and satisfying when done with care.
Warm water, a touch of oil, and some patience are all you need to keep your nails healthy, clean, and beautiful. Be gentle, take your time, and treat your nails the way you’d treat something precious because they are.
Beautiful nails don’t come from force; they come from care.
Have questions or feedback? For more updates, contact us anytime.