
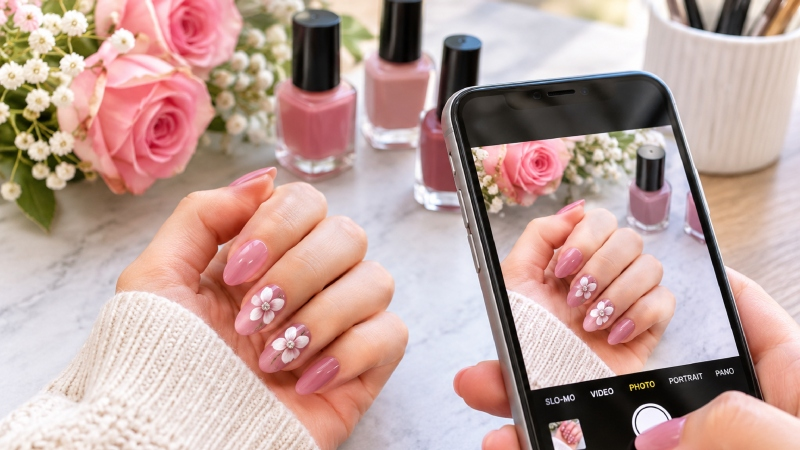
Nail art is about much more than choosing a beautiful polish colour. From delicate floral patterns and minimalist French tips to intricate seasonal designs and bold artistic details, every manicure tells a story. Whether you enjoy experimenting with nail designs at home, follow the latest beauty trends, or work professionally in the nail industry, sharing your creations is part of the fun. A well-taken photograph allows others to appreciate the colours, textures, and craftsmanship that might otherwise go unnoticed.
In today’s beauty world, visual presentation matters. Nail artists, beauty bloggers, and manicure enthusiasts regularly use photographs to showcase their work, create tutorials, update portfolios, and share inspiration online. Preparing those images properly is just as important as capturing them. A useful tool such as a PNG compressor can help reduce image file sizes, making nail art photographs and graphics easier to upload, share, and manage without unnecessarily sacrificing visual clarity.
Why High-Quality Nail Art Photography Matters
Think about the last time you saw a manicure online that immediately caught your attention. Perhaps it was a glossy cherry-red finish, a delicate nude manicure with gold accents, or an elaborate design featuring tiny hand-painted flowers.
What made the image appealing was probably not just the manicure itself. Lighting, composition, colour accuracy, and image clarity all played a role.
For nail technicians, good photography can help attract potential clients by demonstrating attention to detail and technical ability. For beauty enthusiasts, it provides a way to document personal creativity and share ideas with others.
Even if you are simply maintaining a personal nail inspiration collection, clear photographs make it easier to revisit designs and remember which colours, techniques, and combinations you enjoyed.
Understanding PNG Images in the Beauty Industry
PNG is a popular image format used across websites, social media graphics, digital illustrations, and beauty-related content.
One of its biggest advantages is support for transparency. This makes it particularly useful for logos, decorative graphics, nail art illustrations, and promotional designs that need to sit against different backgrounds.
For example, imagine creating a digital nail art guide featuring several manicure styles. You might want individual illustrations of different nail shapes, polish colours, and decorative elements without a solid background surrounding each design.
PNG images can make this possible while preserving sharp edges and fine details.
The format also uses lossless compression, meaning image information is retained during standard PNG compression. This is particularly valuable for graphics containing text, clean lines, and detailed illustrations.
However, PNG files can sometimes become quite large, especially when they contain high-resolution artwork or complex images.
How to Photograph Nail Designs Like a Professional
You do not need an expensive camera or a professional photography studio to take attractive manicure photographs. A smartphone, suitable lighting, and a little attention to detail can produce excellent results.
1. Choose Natural Lighting
Lighting is one of the most important elements of nail photography.
Natural daylight generally provides a balanced appearance and helps colours look more realistic. Position your hands near a window, ideally where the light is bright but not excessively harsh.
Avoid direct sunlight when possible, as it can create strong reflections and shadows that hide small design details.
If you regularly photograph manicures in the evening, consider using a soft LED light or a small photography light with adjustable brightness.
2. Prepare Your Hands and Nails
A beautiful manicure deserves a clean mpresentation.
Before taking photographs, apply cuticle oil sparingly, remove any polish residue from the skin, and make sure the nails are clean. If you are photographing a fresh manicure, check for smudges, uneven edges, or visible imperfections.
Small details can make a significant difference in close-up photographs.
You should also think about hand positioning. Relaxed fingers usually look more natural than stiff or overly stretched poses.
3. Use a Simple Background
A busy background can distract attention from the manicure.
Neutral surfaces such as white fabric, beige paper, marble-effect materials, or soft pastel backgrounds often work particularly well.
You can also introduce subtle props, such as a favourite perfume bottle, a small flower, or a beauty product, provided they complement rather than overpower the nail design.
The goal is to make the manicure the main attraction.
4. Capture Different Angles
One photograph rarely shows every detail of a nail design.
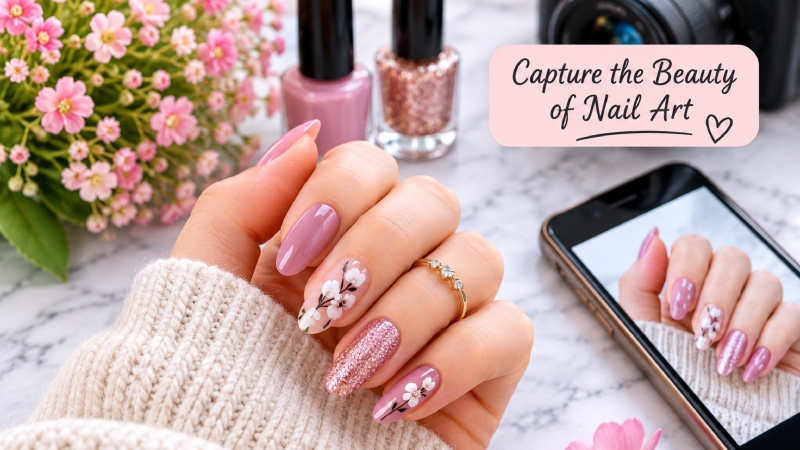
Take several images from different perspectives. A straight-on photograph can show the overall manicure, while a closer shot can highlight glitter, fine artwork, embellishments, or unusual finishes.
For professional nail technicians, these additional angles can make a portfolio more informative and convincing.
Managing Image Sizes Without Losing Important Details
Once you have captured your photographs, the next step is preparing them for online use.
High-resolution images are excellent for preserving detail, but uploading unnecessarily large files can create practical problems. They take longer to transfer, consume more storage space, and may slow down websites.
This is particularly relevant for beauty websites featuring extensive photo galleries, product collections, and nail art tutorials.
A few simple habits can help:
- Keep original photographs: Save unedited versions so you can return to them whenever necessary.
- Resize images appropriately: Avoid uploading enormous photographs when a smaller display size will work.
- Choose suitable formats: Use PNG for graphics, illustrations, and images requiring transparency.
- Organize your files: Create folders for different manicure styles, seasonal collections, and finished projects.
- Check image quality: Always inspect the final version before publishing it.
Remember that reducing file size should never come at the expense of the details that make a manicure special.
Using Nail Photography to Build a Beauty Portfolio
If you are a nail technician or aspiring nail artist, your photographs can become an important part of your professional identity.
A well-organized portfolio allows potential clients to understand your style before booking an appointment.
Rather than uploading random photographs, organize your work into categories.
For example:
Classic manicures: Showcase French tips, nude finishes, timeless reds, and understated styles.
Creative nail art: Include hand-painted patterns, abstract designs, geometric details, and decorative embellishments.
Seasonal inspiration: Create collections featuring summer colours, autumn shades, festive designs, and spring florals.
Special occasion nails: Highlight wedding manicures, birthday designs, holiday looks, and glamorous evening styles.
Consistency is important. Try to use similar lighting, backgrounds, and photography angles throughout your portfolio. This creates a more professional appearance and makes it easier for visitors to compare different designs.
Creating Engaging Nail Art Content for Social Media
Social media provides an excellent opportunity to share manicure inspiration and connect with people who appreciate beauty and creativity.
However, simply posting a photograph is not always enough to encourage engagement.
Think about adding useful context to your images. Explain which polish shades you used, describe the technique behind a particular design, or share a practical tip that someone could try at home.
For example, a photograph of a minimalist floral manicure could be accompanied by a short explanation of how to create delicate petals using a fine nail art brush.
You can also create visual comparisons showing how the same design looks on different nail shapes, such as almond, square, oval, and coffin.
When preparing content, pay attention to image dimensions and file sizes. Clear photographs that load quickly make browsing more enjoyable, particularly for mobile visitors.
Keeping Your Nail Design Inspiration Organized
Anyone who enjoys nail art knows how quickly an inspiration collection can grow.
You might save screenshots of trending manicures, photographs from salon visits, colour combinations, and tutorials you want to try later.
Without some organization, finding a particular design can become frustrating.
A simple digital filing system can make things easier. Create folders based on colours, techniques, occasions, or nail shapes. Use descriptive filenames instead of generic camera-generated names.
You could also maintain a separate collection of your own completed manicures. Comparing older photographs with recent work can reveal how your technique and creativity have developed.
It is a small habit, but it can be surprisingly motivating.
Conclusion
Beautiful nail art deserves to be presented just as carefully as it is created. From choosing good lighting and attractive backgrounds to organizing photographs and preparing images for online sharing, a few thoughtful steps can make a noticeable difference.
Whether you are a professional nail technician, a beauty enthusiast, or someone who simply loves experimenting with new manicure ideas, clear and well-managed images help preserve creativity and inspire others. Focus on capturing the details, maintaining consistent quality, and sharing your work in a way that allows every design to shine.

Erin Durkheim is an author and content contributor at Gingerbread Nails, covering nail designs, nail care, beauty tips, fashion, and product-related topics. She focuses on creating practical, easy-to-understand content that helps readers explore nail trends, care routines, and everyday beauty ideas.